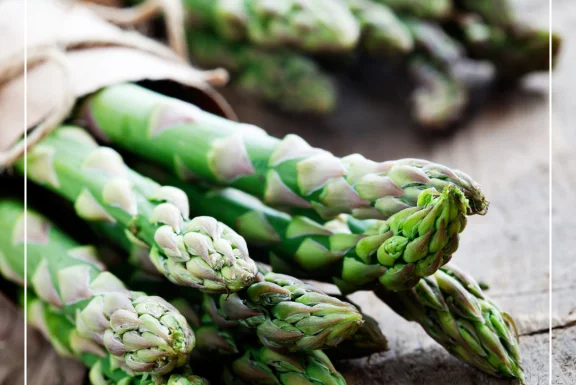
by Drummers Garden Center | May 9, 2024 | Vegetables
Introduction: Asparagus is a perennial favorite among garden enthusiasts, known for its delicious spears and early spring harvest. Planting asparagus roots, or crowns, might seem daunting at first, but with the right guidance, you can establish a thriving patch that...
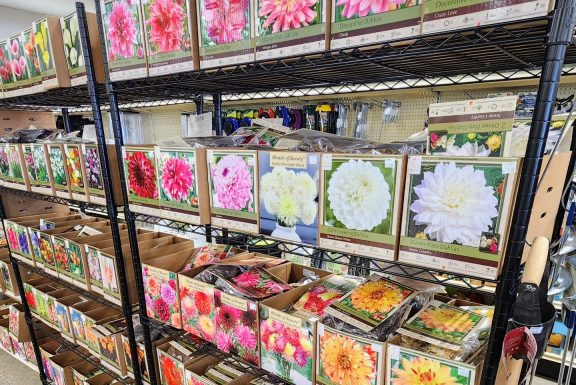
by Drummers Garden Center | Mar 21, 2024 | Bulbs
Planting spring bulbs indoors before transferring them outdoors can be a smart strategy for gardeners aiming to enjoy earlier blooms of spring planted bulbs in summer. As the weather warms up, transitioning these pre-planted bulbs outside can expedite the growth...

by Drummers Garden Center | Jul 26, 2023 | Yard & Garden Care
As with most disease and pest problems, accurate diagnosis is the important part of controlling a problem and doing so responsibly. In this case, the image shows aster yellows disease on a purple coneflower. Aster yellows is a disease that is spread through insects...
by Drummers Garden Center | Jul 18, 2023 | Garden Planning, Perennials
In this Elements of Landscape Design Series post we are focusing on landscape design using perennials to accomplish your landscape vision. Incorporating perennials into a garden is a wonderful way to add beauty, diversity, and longevity to your outdoor space....
by Drummers Garden Center | Jul 14, 2023 | Garden Planning
Summer-bearing raspberries and fall-bearing raspberries are two types of raspberries that differ in their fruiting habits and growth patterns. Here’s some information about each: Summer-bearing raspberries: Fruit production: Summer-bearing raspberries, as the...