by Drummers Garden Center | Jan 17, 2023 | Winter
When you live in a state that has snow and ice it’s inevitable that part of the yard will be exposed to deicing salts when the snow melts. As the snow melts the salt is incorporated into the ground water that the plants use when the ground thaws. The...
by Drummers Garden Center | Oct 26, 2022 | Bulbs, Winter
Be ahead of the spring and get indoor blooms in late winter! Forcing fall bulbs to bloom indoors is a simple way to enjoy color before there is any outside. Watch our YouTube video to get visual examples and quick instructions. First time forcing bulbs? Try Daffodils...
by Drummers Garden Center | Sep 7, 2021 | Houseplants, Plants & Pets, Winter
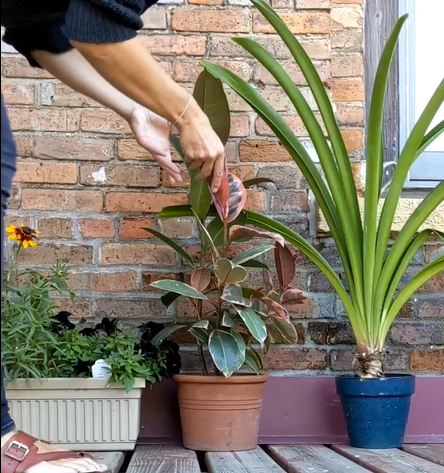
As the temps start to cool and the leaves start to fall outside, we need to start bringing in your houseplants to create a plant oasis to enjoy all winter long. Once the overnight temps are consistently dropping below 50°F, bring your houseplants indoors to...
by Drummers Garden Center | Sep 2, 2021 | Perennials, Shrubs, Trees, Winter, Yard & Garden Care
Fall is the second-best time to plant – with some saying it’s the best! We typically have late-summer and fall sales. Check out current plant sales here. GARLIC Garlic is one of the easiest to crops to grow. Garlic is planted in the fall late September or early...
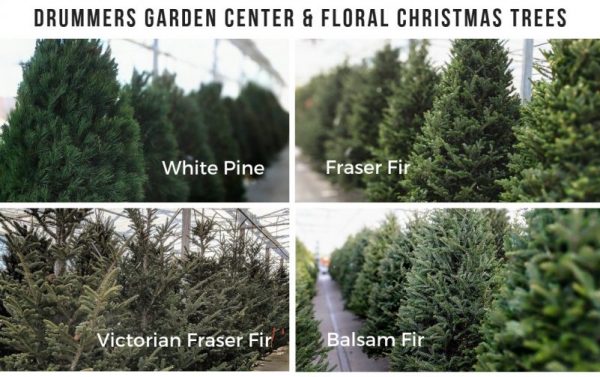
by Drummers Garden Center | Nov 20, 2020 | Christmas, Home Decor, Trees, Winter
We start the season of festive greenery early at Drummers Garden Center and Floral. Christmas Trees, as well as spruce tops, wreaths, garlands, and evergreen bundles including cedar, pine, and juniper are in around mid-November. We know some of you wave your magic...
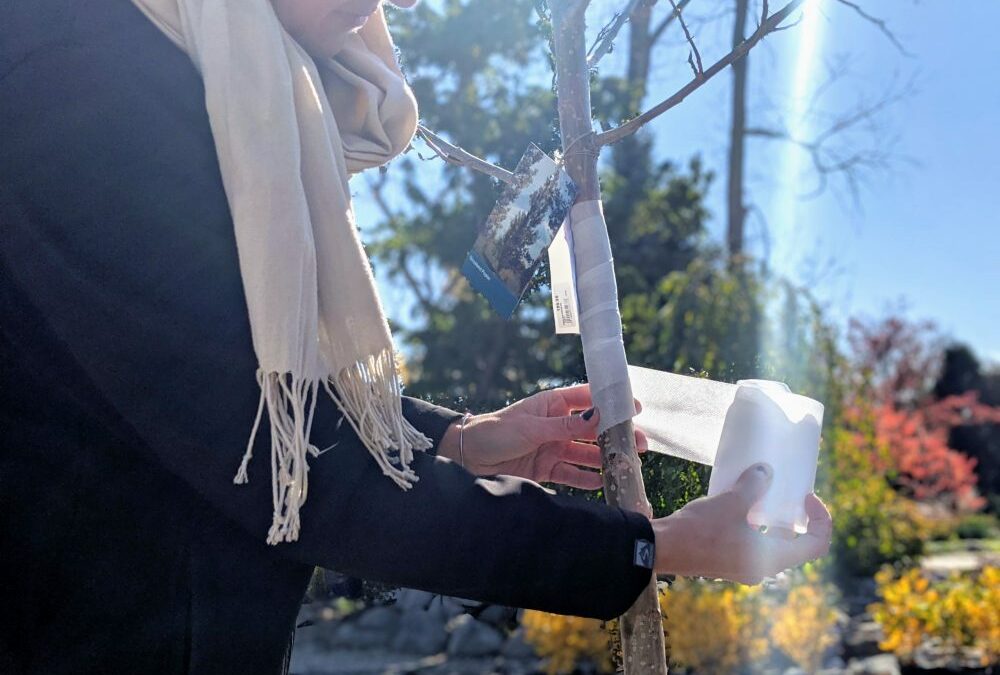
by Drummers Garden Center | Oct 14, 2020 | Trees, Winter, Yard & Garden Care
Wrap New Trees We recommend new trees, also known as saplings, are wrapped with a protective tree wrap or vinyl guards end of October to help protect against sun scald and frost crack. If you tree does experience winter damage it’s not necessarily terminal for...