
by Drummers Garden Center | Mar 21, 2024 | Houseplants
Types of Pottery for Houseplants Terra Cotta: Nature’s Gift to Plants Terra cotta has long been favored by gardeners for its classic look and natural properties. This porous clay material allows air and water to pass through the walls, promoting healthy root...
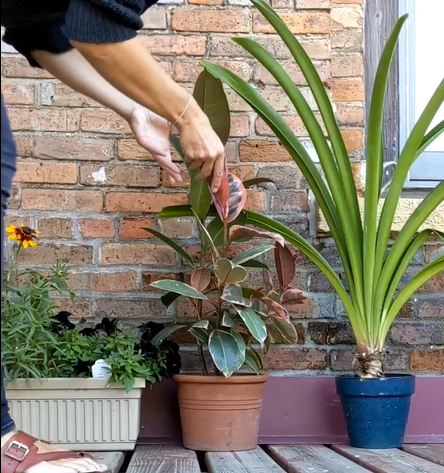
by Drummers Garden Center | Sep 7, 2021 | Houseplants, Plants & Pets, Winter
As the temps start to cool and the leaves start to fall outside, we need to start bringing in your houseplants to create a plant oasis to enjoy all winter long. Once the overnight temps are consistently dropping below 50°F, bring your houseplants indoors to...

by Drummers Garden Center | Aug 24, 2021 | Houseplants
Plants are a wonderful addition to our lives because they connect us with nature, which improves our mental health. Here are the top 5 reasons that plants improve your space. 1. Breathe Easier Indoor plants will improve air quality by removing carbon dioxide, benzene,...
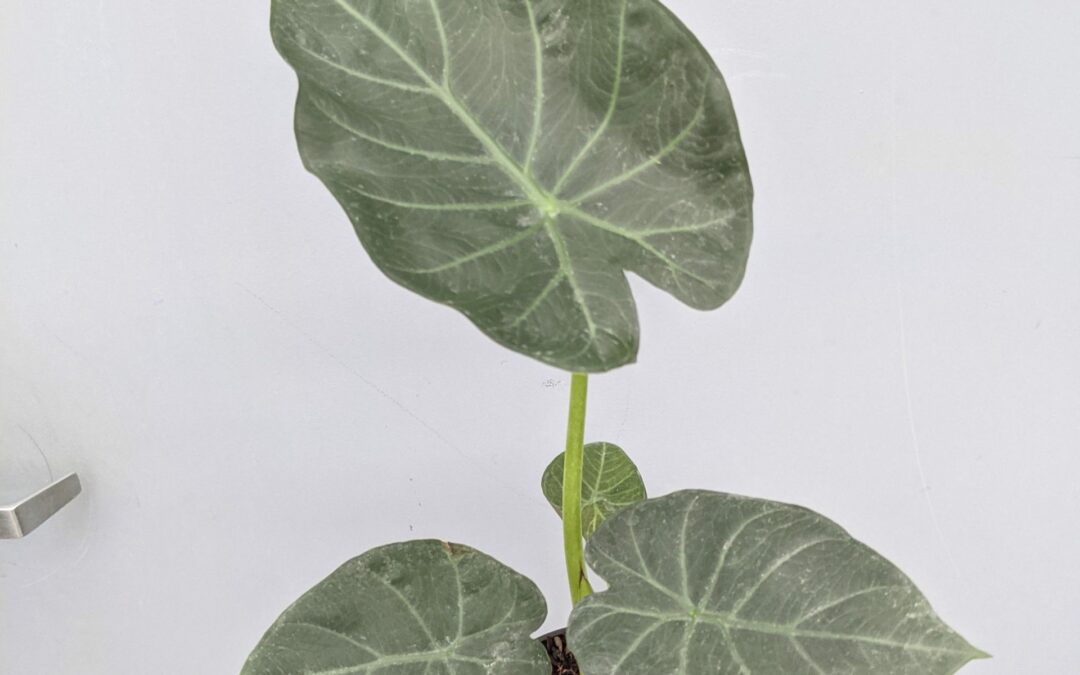
by Drummers Garden Center | Apr 19, 2021 | Houseplants
Plant people are raving about new hybrids of Alocasia, so we are going to get into more detail about this plant for you! Alocasia are native to subtropical Asia and Eastern Australia. There are around 92 varieties of Alocasia and many of the plants...
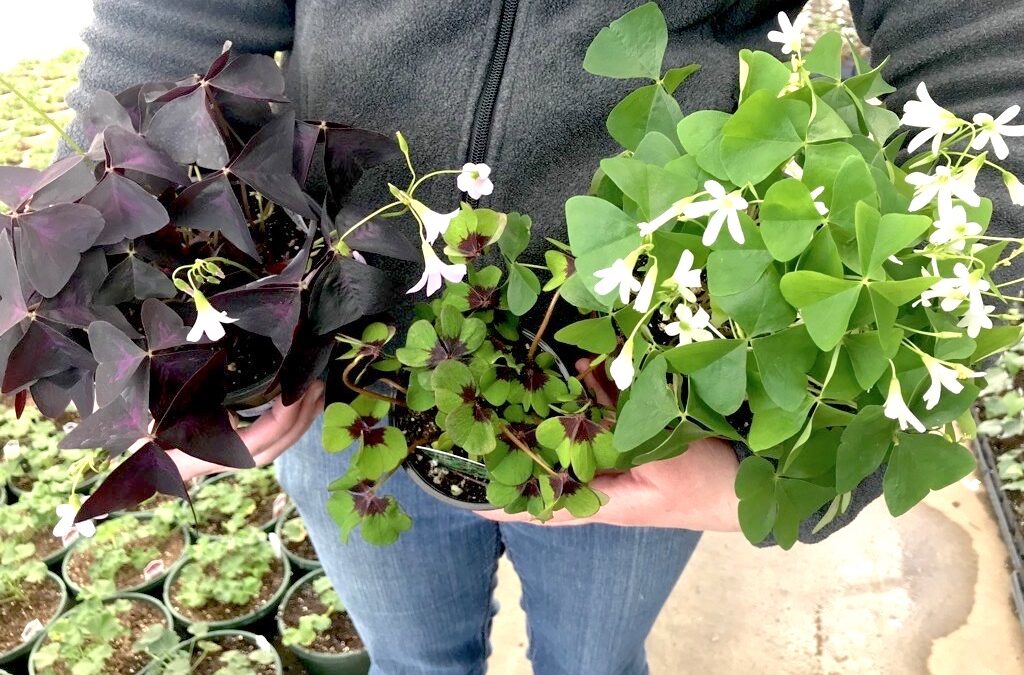
by Drummers Garden Center | Feb 17, 2021 | Gifts, Houseplants
This post is dedicated to the lucky Shamrock Plant! The official plant of St. Patrick’s Day! Oxalis Info You may call them Shamrock plant, but it’s latin name is Oxalis regnellii. These plants are part of the wood sorrel family, Oxalis, and you can even...

by Drummers Garden Center | Nov 25, 2019 | Bulbs, Christmas, Houseplants
Amaryllis bulb planting is super simple and one of the easiest houseplants to take care of after they are done blooming. Watch our quick video on how to plant a single Amaryllis bulb or read the steps below! Potting an Amaryllis: Choose an amaryllis bulb that is firm....