
by Drummers Garden Center | Jul 26, 2023 | Yard & Garden Care
As with most disease and pest problems, accurate diagnosis is the important part of controlling a problem and doing so responsibly. In this case, the image shows aster yellows disease on a purple coneflower. Aster yellows is a disease that is spread through insects...
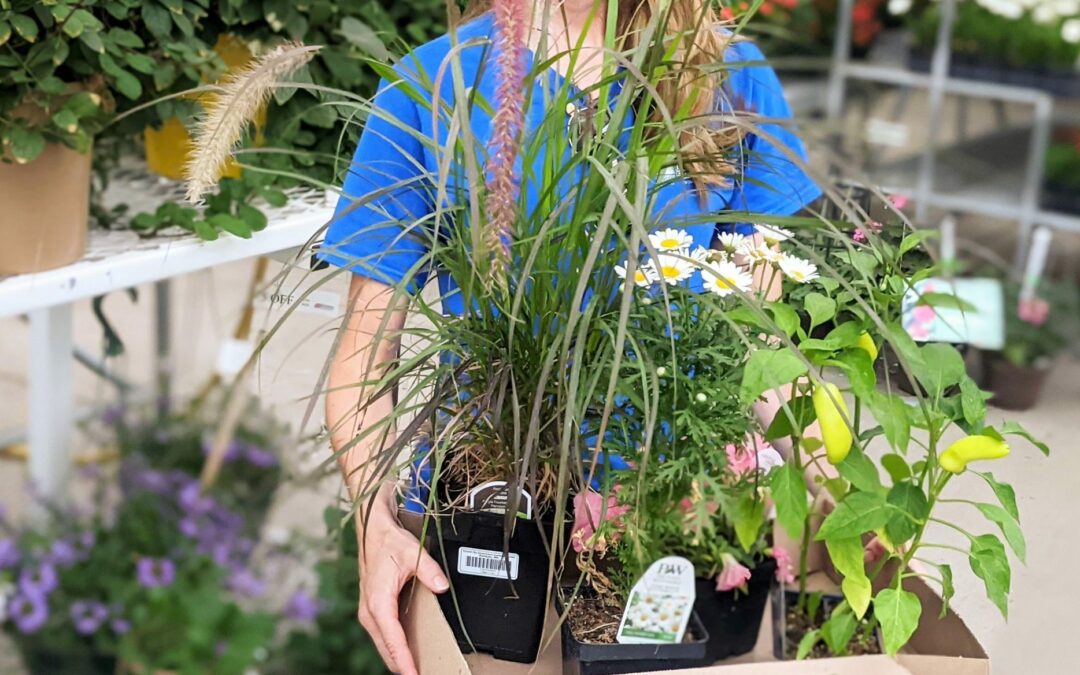
by Drummers Garden Center | Jun 29, 2023 | Garden Planning, Pests, Plant Care, Yard & Garden Care
Pest Control: Be on the lookout for signs of pest damage, such as holes in leaves or wilting plants, and address the issues promptly. Japanese Beetle damage is usually seen starting end of June, which looks like your leaves have turned to lace. Like to do your own...
by Drummers Garden Center | Apr 4, 2023 | Yard & Garden Care
Acclimating plants grown inside or in a greenhouse is called hardening off. Hardening off thickens the cuticle of their leaves to avoid access moisture loss and strengthens tender young plants. If you are planting potatoes, onions, asparagus, strawberry bare roots, or...
by Drummers Garden Center | Jan 4, 2023 | Plant Care, Yard & Garden Care
Black walnut (Juglans nigra) and Butternut trees and closely-related species produce a toxic substance, Juglone, which can be harmful to plants growing in areas nearby the trees or their root systems which can be 50’-60’ radius for large trees. Juglone toxicity...
by Drummers Garden Center | Oct 22, 2022 | Yard & Garden Care
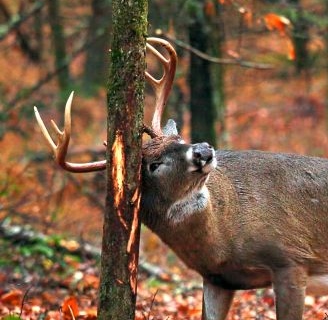
We all love animals but sometimes they go where we don’t want them to or damage our landscapes and gardens. They can chew, eat, scratch, and damage plants throughout the year. When animals get hungry, they may not spare much. Protecting your plant investment is...
by Drummers Garden Center | Sep 7, 2022 | Yard & Garden Care
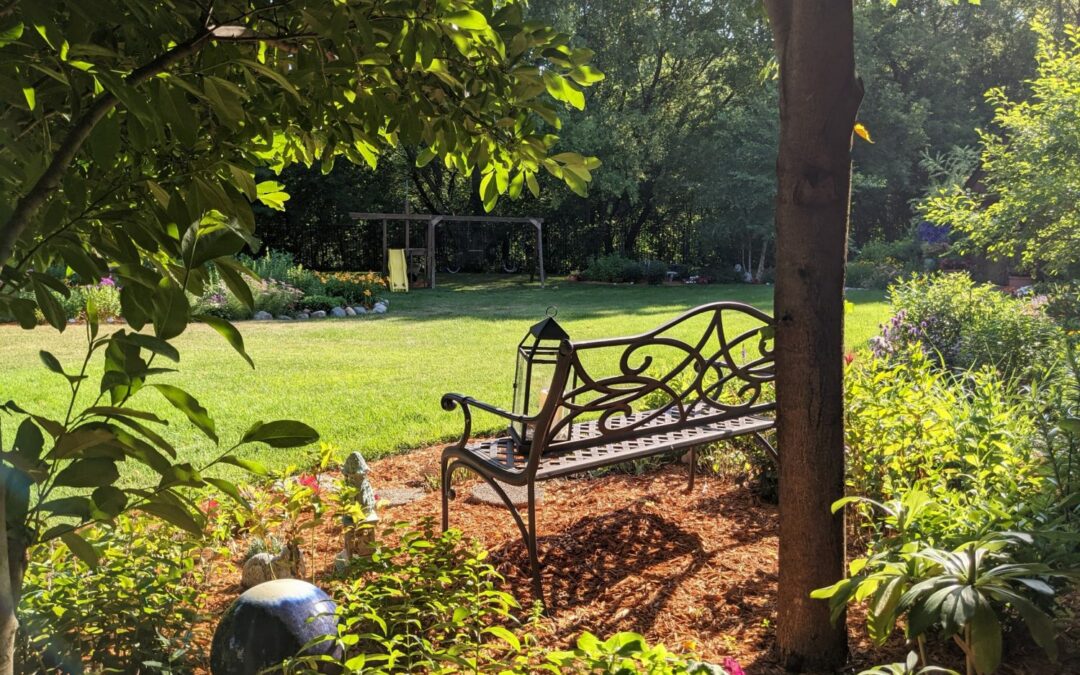
It’s end of summer relaxation time and to treat yourself before winter comes! 10 Treat Yourself Ideas: Go get MN grown apples and make an apple pie and other baked goodies! Find local MN grown apples near you.Read at a local park.Have a campfire with friends and...